
|
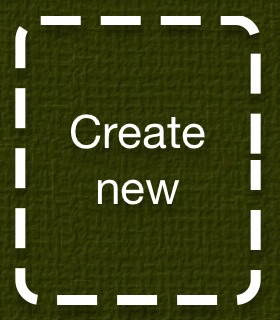
Christmas Lifecards User GuideWelcome to Christmas Lifecards! The special Christmas edition of Lifecards. If you have any comments, questions or requests please write an email to us: lifecards@vividapps.com. 1. Creating a cardStart by selecting "New card",
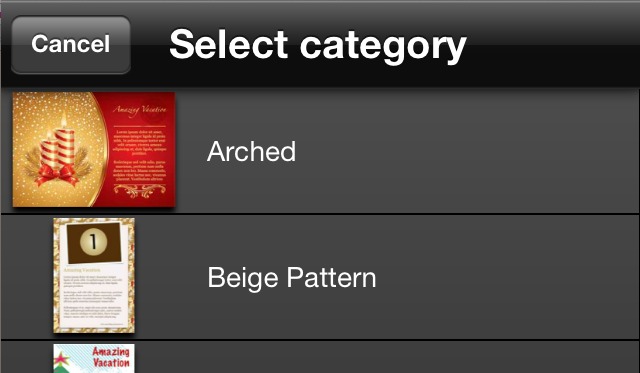
select a category from the list of themes,
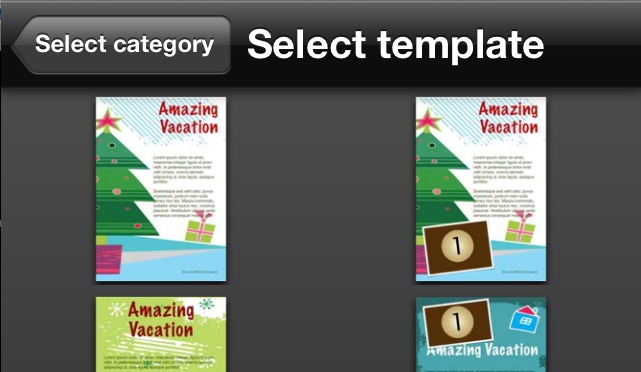
and select a template. You can easily change template and theme later.
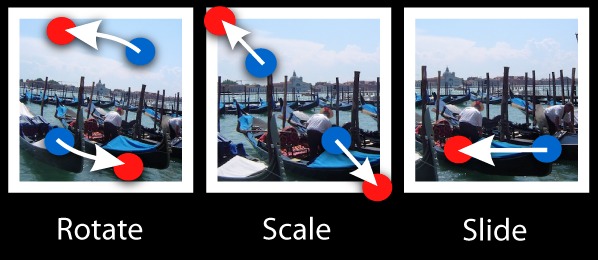
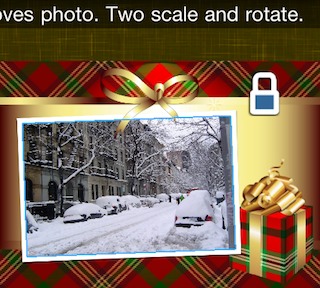
Once a template has been selected you can tap on the "Add Photo" and "Add text" areas to insert photos from your photo-album and enter long and short text messages. 2. NavigatingPinch and drag with two fingers to zoom and pan. Select items with a single tap. If you have not currently selected an item, double tap on an item to zoom in on it. Tip: When you rotate your device Christmas Lifecards will automatically adjust to the new orientation. 2. PhotosOnce inserted, photos can be positioned by dragging them on the screen with a single finger, and they can also be scaled and rotated with two fingers.
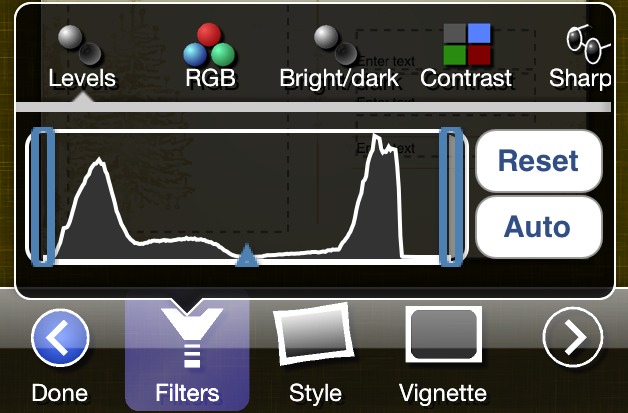
FiltersTo apply a filter to a photo tap the "Filter" button. If more than one filter is applied Lifecards will attempt to apply each filter succesively.
All filters can be adjusted. Applying many filters can slow down Lifecards. Select a filter and tap "remove" to remove it. Other Photo Options
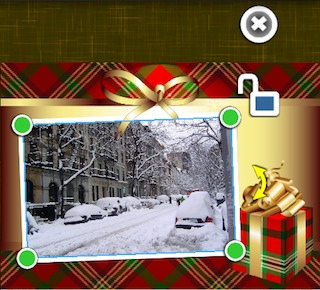
Moving PhotosTap the lock symbol in the upper right corner of the photo to unlock its position. Once unlocked you can drag it to move, drag its corners to resize it, or drag the yellow rotation symbol to rotate it.
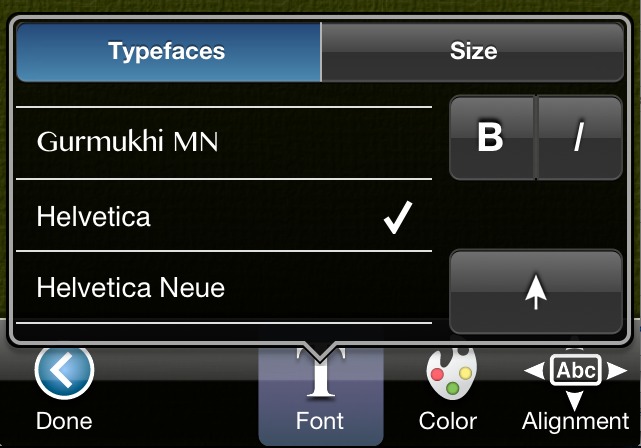
Once you are done editing a photo, simply tap outside the photo or on "Done" on small screen devices. 3. TextOnce you have inserted text, you may select font, alignment, size, and color for text.
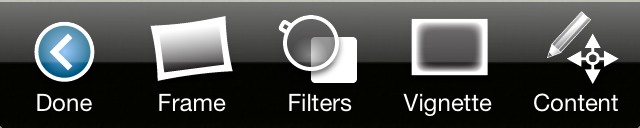
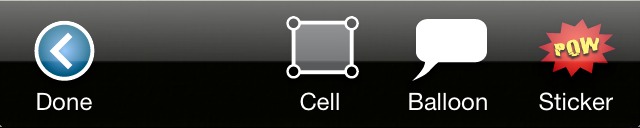
To edit the text tap on the text again. Once you are done changing text properties simply tap "Done". You can change text properties at any given time by tapping on the text. Tap again to edit the written words. 4. Adding itemsIn addition to using the photo and text placeholders, you can add several different types of items to you card.
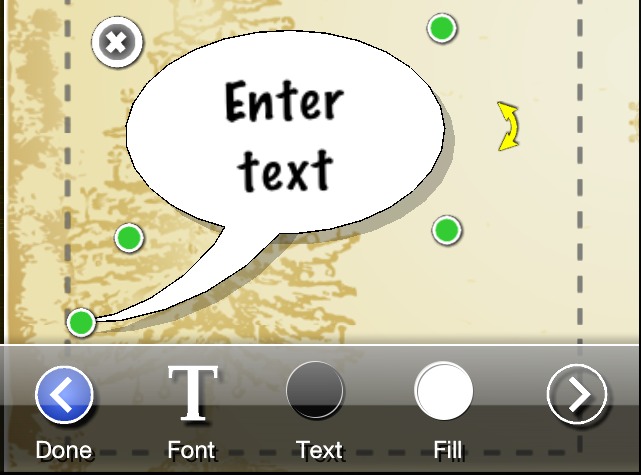
BalloonsOnce you tap "Balloon", you can tap on the balloon that you wish to insert on the card. Drag its center to reposition it. Drag its corners to resize it. Double tap to alter the text
Balloon example StickersStickers are graphic symbols that can be positioned anywhere on the card. You can choose between many different categories, such as candy, postage stamps, or drawings of Santa clause. Once inserted you can drag a sticker to reposition it, drags its corners to resize it, and drag the yellow rotation symbol to rotate it.
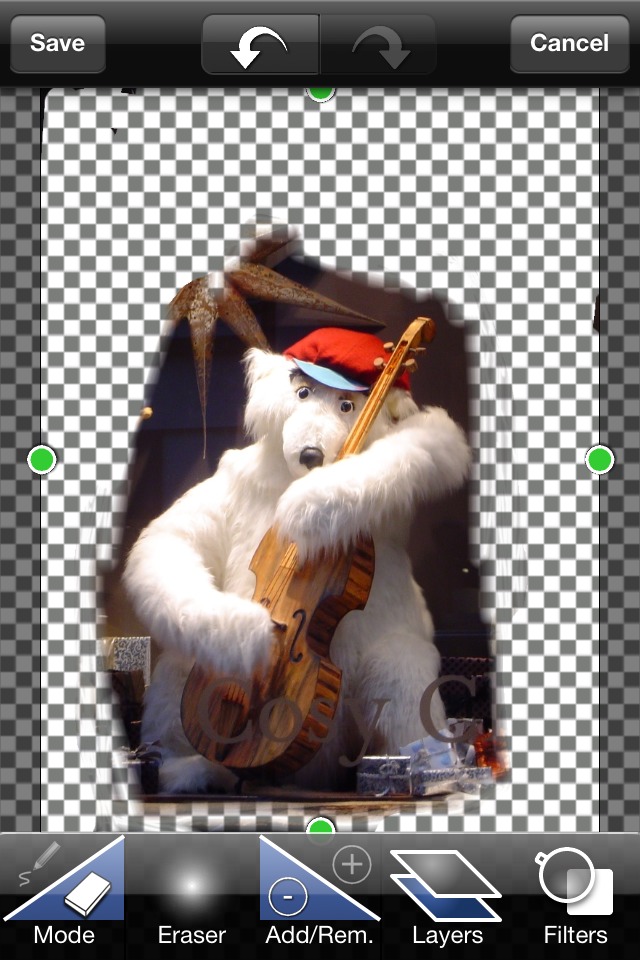
Sticker examples Custom stickerIf you cannot find the sticker that you need, you can add your own. Tap "Sticker" among the "Add" options. Select "Custom stickers" and tap "+" to add a new sticker. Select a photo from your photo album, that you wish to use as basis for the sticker. Once selected, you can mask out the portions of the photo that you wish to make transparent in the sticker editing view.
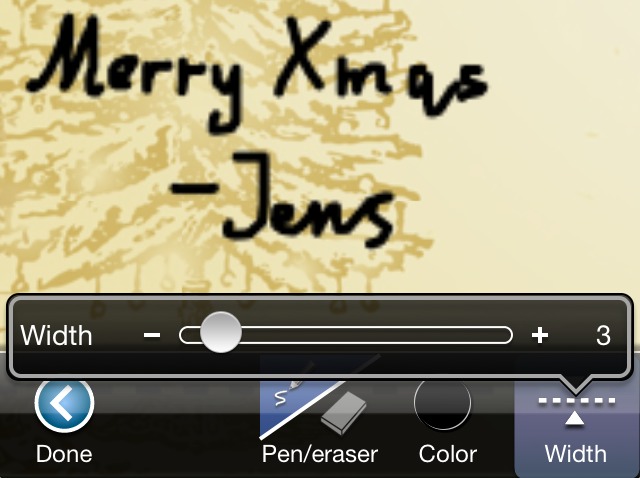
You can add as many stickers to your library as you wish, and you can edit individual cuouts by tapping the blue detail indicator button next to sticker in the custom sticker list. Note that editing a custom sticker will change the sticker in every card you have used it in. 5. SigningIf you wish to add a bit of personal touch or just your signature at the bottom of the card, you sign on the card with your finger Tap "Sign" on the bottom of the screen,
and start writing with your finger. You can also choose width and color of the pen, and select the eraser to erase. .
6. Saving and loadingChristmas Lifecards automatically saves your card. To see your saved cards tap "My cards" and swipe from right to left to browse them. To open an old card, simply tap on it.
7. SharingTo email the card to a friend, or share it with Facebook, Twitter, or Flick, select "Share".
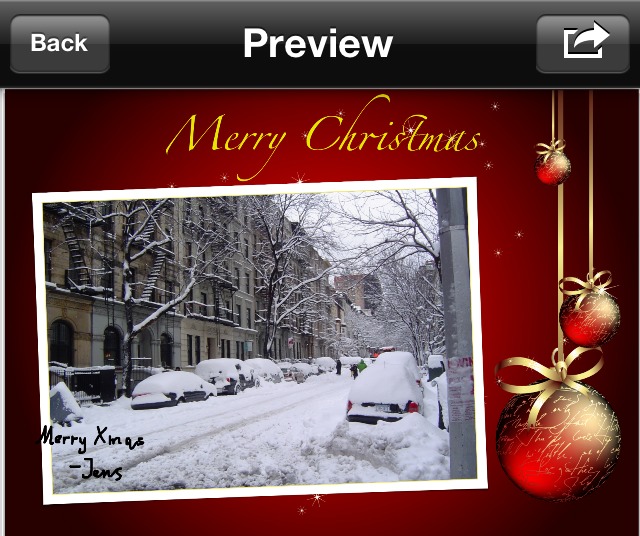
This will open a preview screen, where you can see a more accurate version of you card. You can pinch and drag on the preview screen as on the regular screen to examine details.
Tap on
Note: If you choose to share with Facebook, remember to grant permissions to Lifecards first. 8. Changing a template
Once you are satisfied with the selected template, tap "Done" to leave template selection. Tip: You can change the template of a card without having to reenter text and reinsert photos. 9. Comic strips and LifecardsIf you like Christmas Lifecards check out the real Lifecards and our Comic Strip Designer on the app store.
10. Thank youThank you for purchasing Christmas Lifecards. Please do not hesitate to leave comments in our support forum at www.mexircus.com/iphoneforum or simply email us at lifecards@vividapps.com to help us improve Lifecards. |


 To change the template you have selected, simply tap on the "Layout" button at the bottom of the screen.
At this point you can swipe the screen left and right to change the template within the current theme, and swipe up and down to change theme.
Tap "Themes" to see a list of all templates and categories.
To change the template you have selected, simply tap on the "Layout" button at the bottom of the screen.
At this point you can swipe the screen left and right to change the template within the current theme, and swipe up and down to change theme.
Tap "Themes" to see a list of all templates and categories.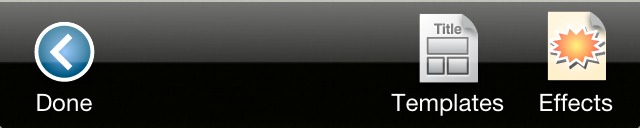
Email: support@vividapps.com
Address: Weidekampsgade 23, 4 th., 2300 Kbh. S, Denmark
Vivid Apps ApS, CVR: 42482757