
| Getting Started | Advanced Topics |
Getting Started
Choose a Template
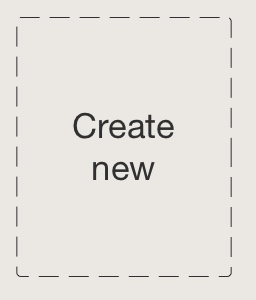
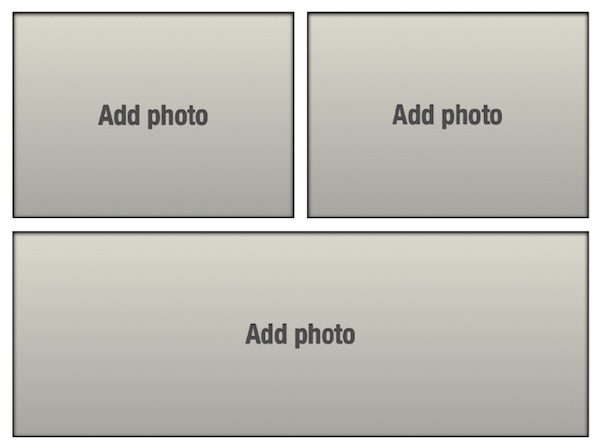
Start by tapping "Create new" in the upper left corner, and then select the category and layout template that you wish to use.
 |
→ | 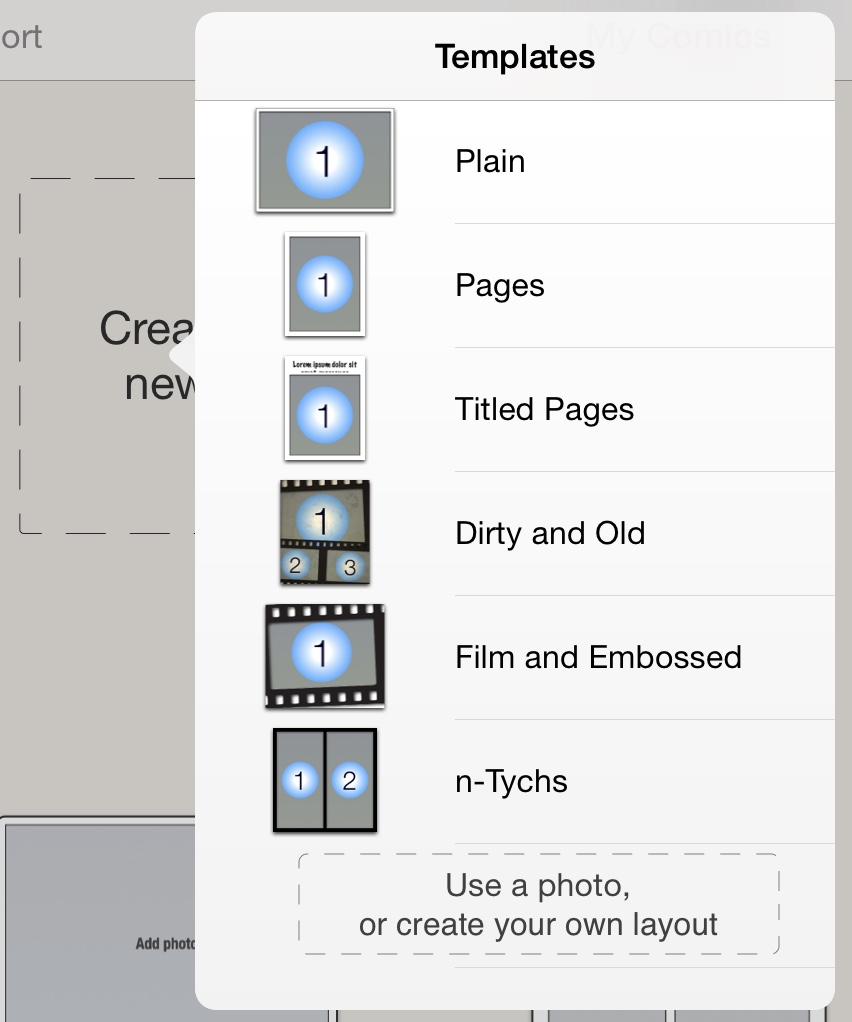 |
To create a custom layout pick the "Create your own" category. The "strip layout" is ideal for designing a comic book layout quickly, and strip layouts can be modified easily as you add and remove images. Read more about strip layouts in the advanced section here.
Editing
When you have selected a layout, a fresh page based on the template will appear on the screen, and you are able to add photos, speech balloons, and much more.
General Editing
- Select: Tap on an item you wish to select.
- Zoom: Pinch
- Pan: Drag (without selecting an item)
Note: Items can appear slightly pixelated on the editing screen, but may look fine once the comic is shared.
Editing Actions
At the top of the screen you can select:
| Browse your comics, and add a new comic. Comics are automatically saved when you tap "Comics" or exit the app. |
| Share the comic by email, Facebook, Flickr, Twitter, save it your photo album, etc. |
At the bottom of the screen you can tap on:
 |
Select a different template for layout, change strip layout, change background color, page size, or add page-effects. |
 |
Add speech balloons, cells, stickers, and warp-text. |
 |
Toggle pan/zoom mode. If enabled, any pinch or drag will only zoom and pan, and you will avoid accidental selection of items. |
Tip: When pan/zoom is toggled on, double tap on an item to zoom in on that item.
Add Photos
To insert a photo, tap one of the black "Add Photo" areas of the layout.
Photos can be selected from your photo-album, pasted from Clipboard, or taken with your camera. You can also insert a map, or a blank white image (for drawing on).
Positioning Photos
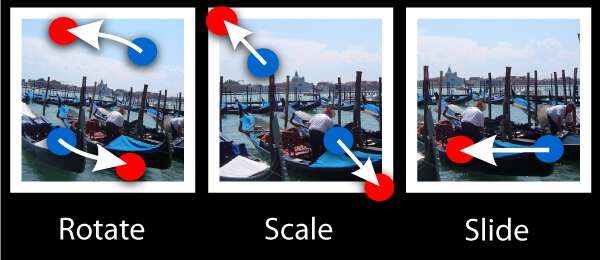
Photos can be repositioned within their cells by dragging them with a single touch, and resized or rotated with a pinch.
Once you are done manipulating a photo, tap outside the photo.To alter the photo later, tap on it to select it.
Add Speech Balloons
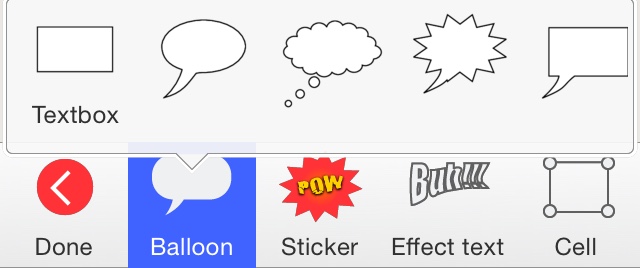
To add a speech balloon, tap "Add" at the bottom of the screen, select "Balloon", and tap on the desired type of balloon or drag it onto the comic.
Once added, you can move a balloon by dragging it, resize by dragging one of the green corners, or rotate the balloon by dragging the yellow double arrow symbol. You can also change the tail of the balloon, by dragging the corresponding green marker.
Delete the balloon by tapping the cross symbol at the upper left corner.
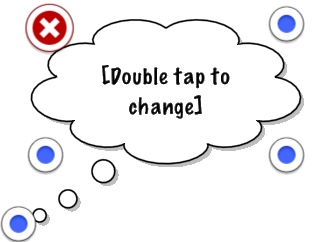
To edit the text, double tap on the balloon.
Once you are done changing balloon properties simply tap on the comic outside the baloon. To alter the balloon at a later time, reselect the ballon by tapping on it.
Add Stickers
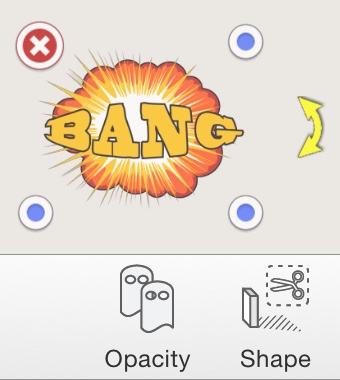
Stickers are text and symbolic graphics that can be used to spice up your comic. You can use the built-in stickers or create your own (based on photos or drawings). Stickers can be positioned, scaled, and rotated freely on the page.
To add a sticker, tap "Add", and then "Sticker" on the bottom of the screen:
|
and | 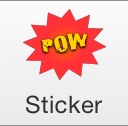 |
Then, select the category and sticker that you wish to add. Once added, you can move the sticker by dragging it, and rescale it by dragging the corner control points similar to speech balloons.
Share
To email, upload, or save the comic to your photo album tap "Share".
You will now be presented with a preview of the final comic.
You can use the preview to inspect the resulting comic.
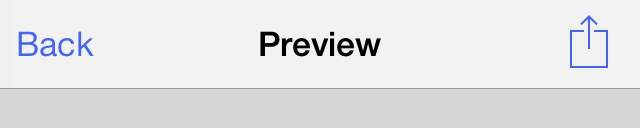
To change the comic tap "Back".
When you are satisfied with the comic, you may tap "Share" to save the comic to your photo-album, email it, or use one of the many other share options.
To email the comic to a friend, select "Email" and type his email address and subject. The email will be put in your Outbox folder of the Mail app, and you may have to enter the Mail app to send the comic.
PDF, Facebook, Flickr, and Twitter
The Share menu contains many sharing options like PDF export, copy to Clipboard, or publish on Facebook, Flickr or Twitter.
Higher Output Resolution
For non-PDF sharing, you can change the output resolution by tapping "Settings" in the Share menu.
Best results: Please note that you will get the best results if you share with PDF, as speech balloons and other page elements are rendered in vector format, and images are stored in higher resolution within the PDF.
The Strip Designer Flickr Group
If you create a marvel for the entire world to see, you are encouraged to upload it to the Strip Designer Flickr group. Simply log into Flickr using your user id and password and select "In Strip Designer group" when you upload. In addition to uploading the comic to your Flickr account, the comic will automatically be added to our group.

Inspiration: For inspiration, you can visit the group here: www.flickr.com/groups/1327216@N22/
Saved Comics
Your comics are automatically saved when you exit the application. To view your
comics you can tap "My comics"
Swipe on the screen to browse your comics, and tap on one to select it. Tap on it again to open it.
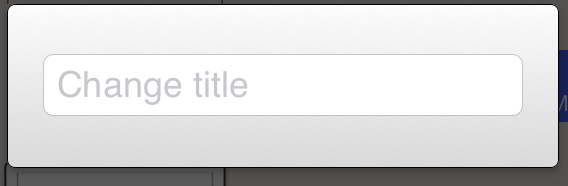
You can change the title of comic by tapping on the title.
When a comic is selected, you can delete it by tapping on the thrash-can symbol in the lower-left of the screen, and you can duplicate it by tapping on the "x2" symbol.

Using iCloud
You can synchronize your comics across multiple devices using iCloud. To enable (or disable) iCloud synchronization for individual comics, select the comic and tap on the cloud symbol at the bottom of the screen.